调研:Amis 工作原理、自定义组件
#lowcode
目录
1. 工作原理
- 渲染过程就是根据
节点 type信息,跟组件池中的找到对应的组件实现- 如果命中,则把当前节点转给对应组件渲染,节点中其他属性将作为目标组件的 props。
- 如果是容器组件,比如以上例子中的
page组件,从 props 中拿到的body是一个子节点 - 由于节点类型是不固定,由使用者决定,所以不能直接完成渲染
- 所以交给属性中下发的
render方法去完成渲染,{render('body', body)},他的工作就是拿子节点的 type 信息去组件池里面找到对应的渲染器,然后交给对应组件去完成渲染。
- 所以交给属性中下发的
2. 自定义组件:SDK
2.1. 属性
| 属性名 | 类型 | 默认值 | 说明 |
|---|---|---|---|
| type | ‘custom’ | ||
| id | string | 节点 id | |
| name | string | 节点 名称 | |
| className | string | 节点 class | |
| inline | boolean | false | 默认使用 div 标签,如果 true 就使用 span 标签 |
| html | string | 初始化节点 html | |
| onMount | string | Function | 节点初始化之后调的用函数 |
| onUpdate | string | Function | 数据有更新的时候调用的函数 |
| onUnmount | string | Function | 节点销毁的时候调用的函数 |
2.2. onMount
这是节点在初始化的时候执行的函数,它接收三个参数:
- dom
- 组件加载之后的 dom 节点
- data
- 组件初始值,需要设置 name
- onChange
- 修改这个组件对应 name 的值
- props,后面会单独介绍
{
  type: 'page',
  title: '表单页面',
  body: {
    type: 'form',
    title: 'custom 组件',
    body: [
      {
        type: 'custom',
        name: 'myName',
        label: '自定义组件',
        onMount: (dom, value, onChange, props) => {
          const button = document.createElement('button');
          button.innerText = '点击修改';
          button.onclick = event => {
            // 这个 onChange 方法只有放在表单项中才能调用,第二个参数是表单项名称
            onChange('new', 'myName');
            event.preventDefault();
          };
          dom.appendChild(button);
        }
      },
    ]
  }
}
type = free- 模块联邦的方式嵌入
2.3. props
前面可以看到所有函数最后都有一个 props 参数,在这个参数里能拿到 amis 内部属性和方法,比如弹框
onMount: (dom, data, onChange, props) => {
  const button = document.createElement('button');
  button.innerText = '点击修改姓名';
  button.onclick = event => {
    onChange('new name', 'name');
    props.onAction(
      event,
      {
        type: 'action',
        label: '弹个框',
        actionType: 'dialog',
        dialog: {
          title: '弹框',
          body: 'Hello World!'
        }
      },
      {} // 这是 data
    );
    event.preventDefault();
  };
  dom.appendChild(button);
};
或者执行
props.env.notify('success', '执行成功')来在右上角弹出提示等
2.4. onUpdate
onUpdate: (dom, data, prevData, props) => {
    console.log('data', data, prevData)
}
2.5. vue
{
  type: 'page',
  title: '表单页面',
  body: {
    type: 'form',
    title: 'custom 组件',
    body: [
      {
        type: 'custom',
        name: 'my-custom',
        html: `
        <ol>
          <li v-for="todo in todos">
            {{ todo.text }}
          </li>
        </ol>
        `,
        label: '自定义组件',
        onMount: (dom, data, onChange, props) => {
          const app = new Vue({
            el: dom,
            data: {
              todos: [
                { text: 'hello' },
                { text: 'world' },
                { text: 'vue' }
              ]
            }
          })
        }
      }
    ]
  }
}
3. 自定义组件:React
3.1. 组件间通信:上下文机制
- 一个好的思路,需要再注册,运行时实例注册进来,方便通讯,那么和数据流有什么关系?
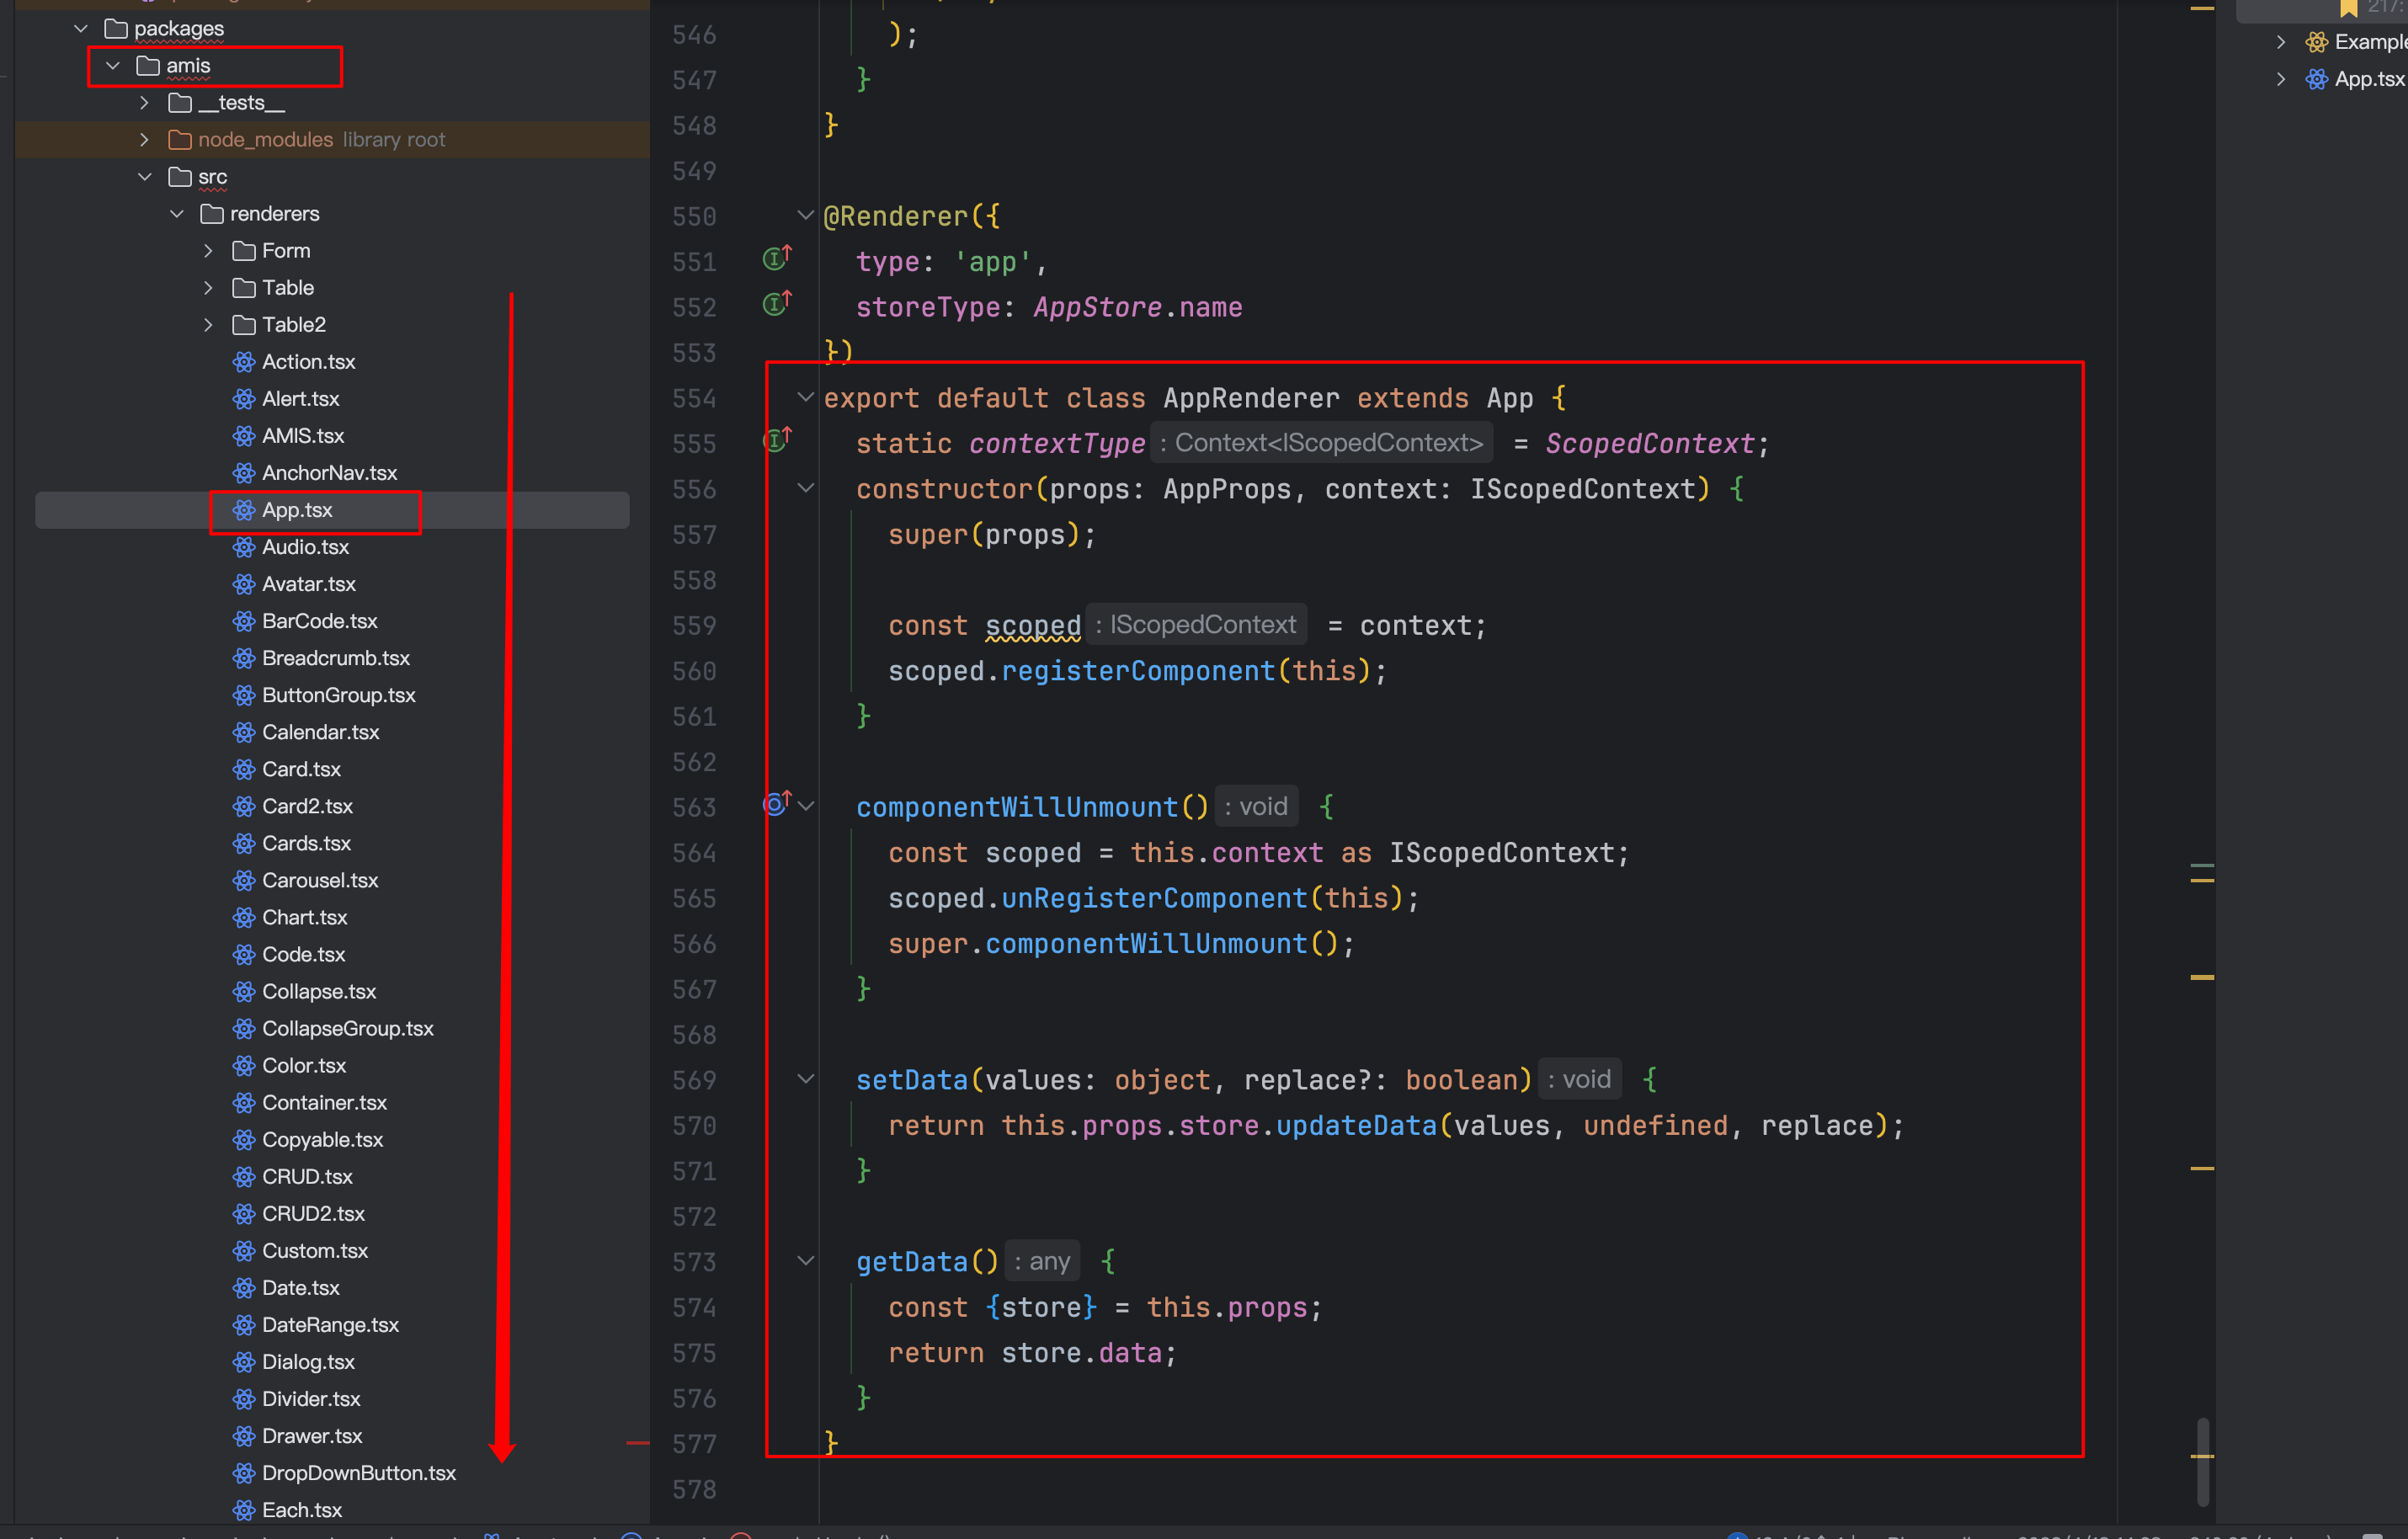
Scoped.tsx会把里面的运行时实例注册进来,方便组件之间的通信
amis 中有个机制就是,把需要被引用的组件设置一个 name 值,然后其他组件就可以通过这个 name 与其通信
import * as React from 'react';
import {Renderer, ScopedContext} from 'amis';
@Renderer({
  type: 'my-renderer'
})
export class CustomRenderer extends React.Component {
  static contextType = ScopedContext;

  constructor() {
    const scoped = this.context;
    scoped.registerComponent(this);
  }

  componentWillUnmount() {
    const scoped = this.context;
    scoped.unRegisterComponent(this);
  }

  // 其他部分省略了。
}
看看 ScopedContext 定义
export interface IScopedContext {
  rendererType?: string;
  component?: ScopedComponentType;
  parent?: AliasIScopedContext;
  children?: AliasIScopedContext[];
  registerComponent: (component: ScopedComponentType) => void;
  unRegisterComponent: (component: ScopedComponentType) => void;
  getComponentByName: (name: string) => ScopedComponentType;
  getComponentById: (id: string) => ScopedComponentType | undefined;
  getComponentByIdUnderCurrentScope: (
    id: string,
    ignoreScope?: IScopedContext
  ) => ScopedComponentType | undefined;
  getComponents: () => Array<ScopedComponentType>;
  reload: (target: string, ctx: RendererData) => void | Promise<void>;
  send: (target: string, ctx: RendererData) => void;
  close: (target: string) => void;
  closeById: (target: string) => void;
  getComponentsByRefPath: (
    session: string,
    path: string
  ) => ScopedComponentType[];
  doAction: (actions: ListenerAction | ListenerAction[], ctx: any) => void;
}
3.2. env 对象
自定义的渲染器 props 会下发一个非常有用的 env 对象。这个 env 有以下功能方法。
env.fetcher可以用来做 ajax 请求- 如:
this.props.env.fetcher('xxxAPi', this.props.data).then((result) => console.log(result))
- 如:
env.confirm确认框,返回一个 promise 等待用户确认- 如:
this.props.env.confirm('你确定要这么做?').then((confirmed) => console.log(confirmed))
- 如:
env.alert用 Modal 实现的弹框env.notifytoast 某个消息- 如:
this.props.env.notify("error", "出错了")
- 如:
env.jumpTo页面跳转。
这些很多公用方法也可以封装 pinia 里面了
4. amis 内置了调试工具
可以查看组件内部运行日志,方便分析问题,目前在文档右侧就有显示。
默认不会开启这个功能,可以通过下面三种方式开启:
- render 的 env 里设置
enableAMISDebug。 - 配置全局变量
enableAMISDebug的值为true,比如window.enableAMISDebug = true。 - 在页面 URL 参数中加上
amisDebug=1,比如http://xxx.com/?amisDebug=1。
5. 多包结构
- 使用
pnpm workspace
5.1. 组件包:所有的组件入口

- 必须统一都在一个地方写,并且必须有规范,比如样式、vue、schema 文件等等
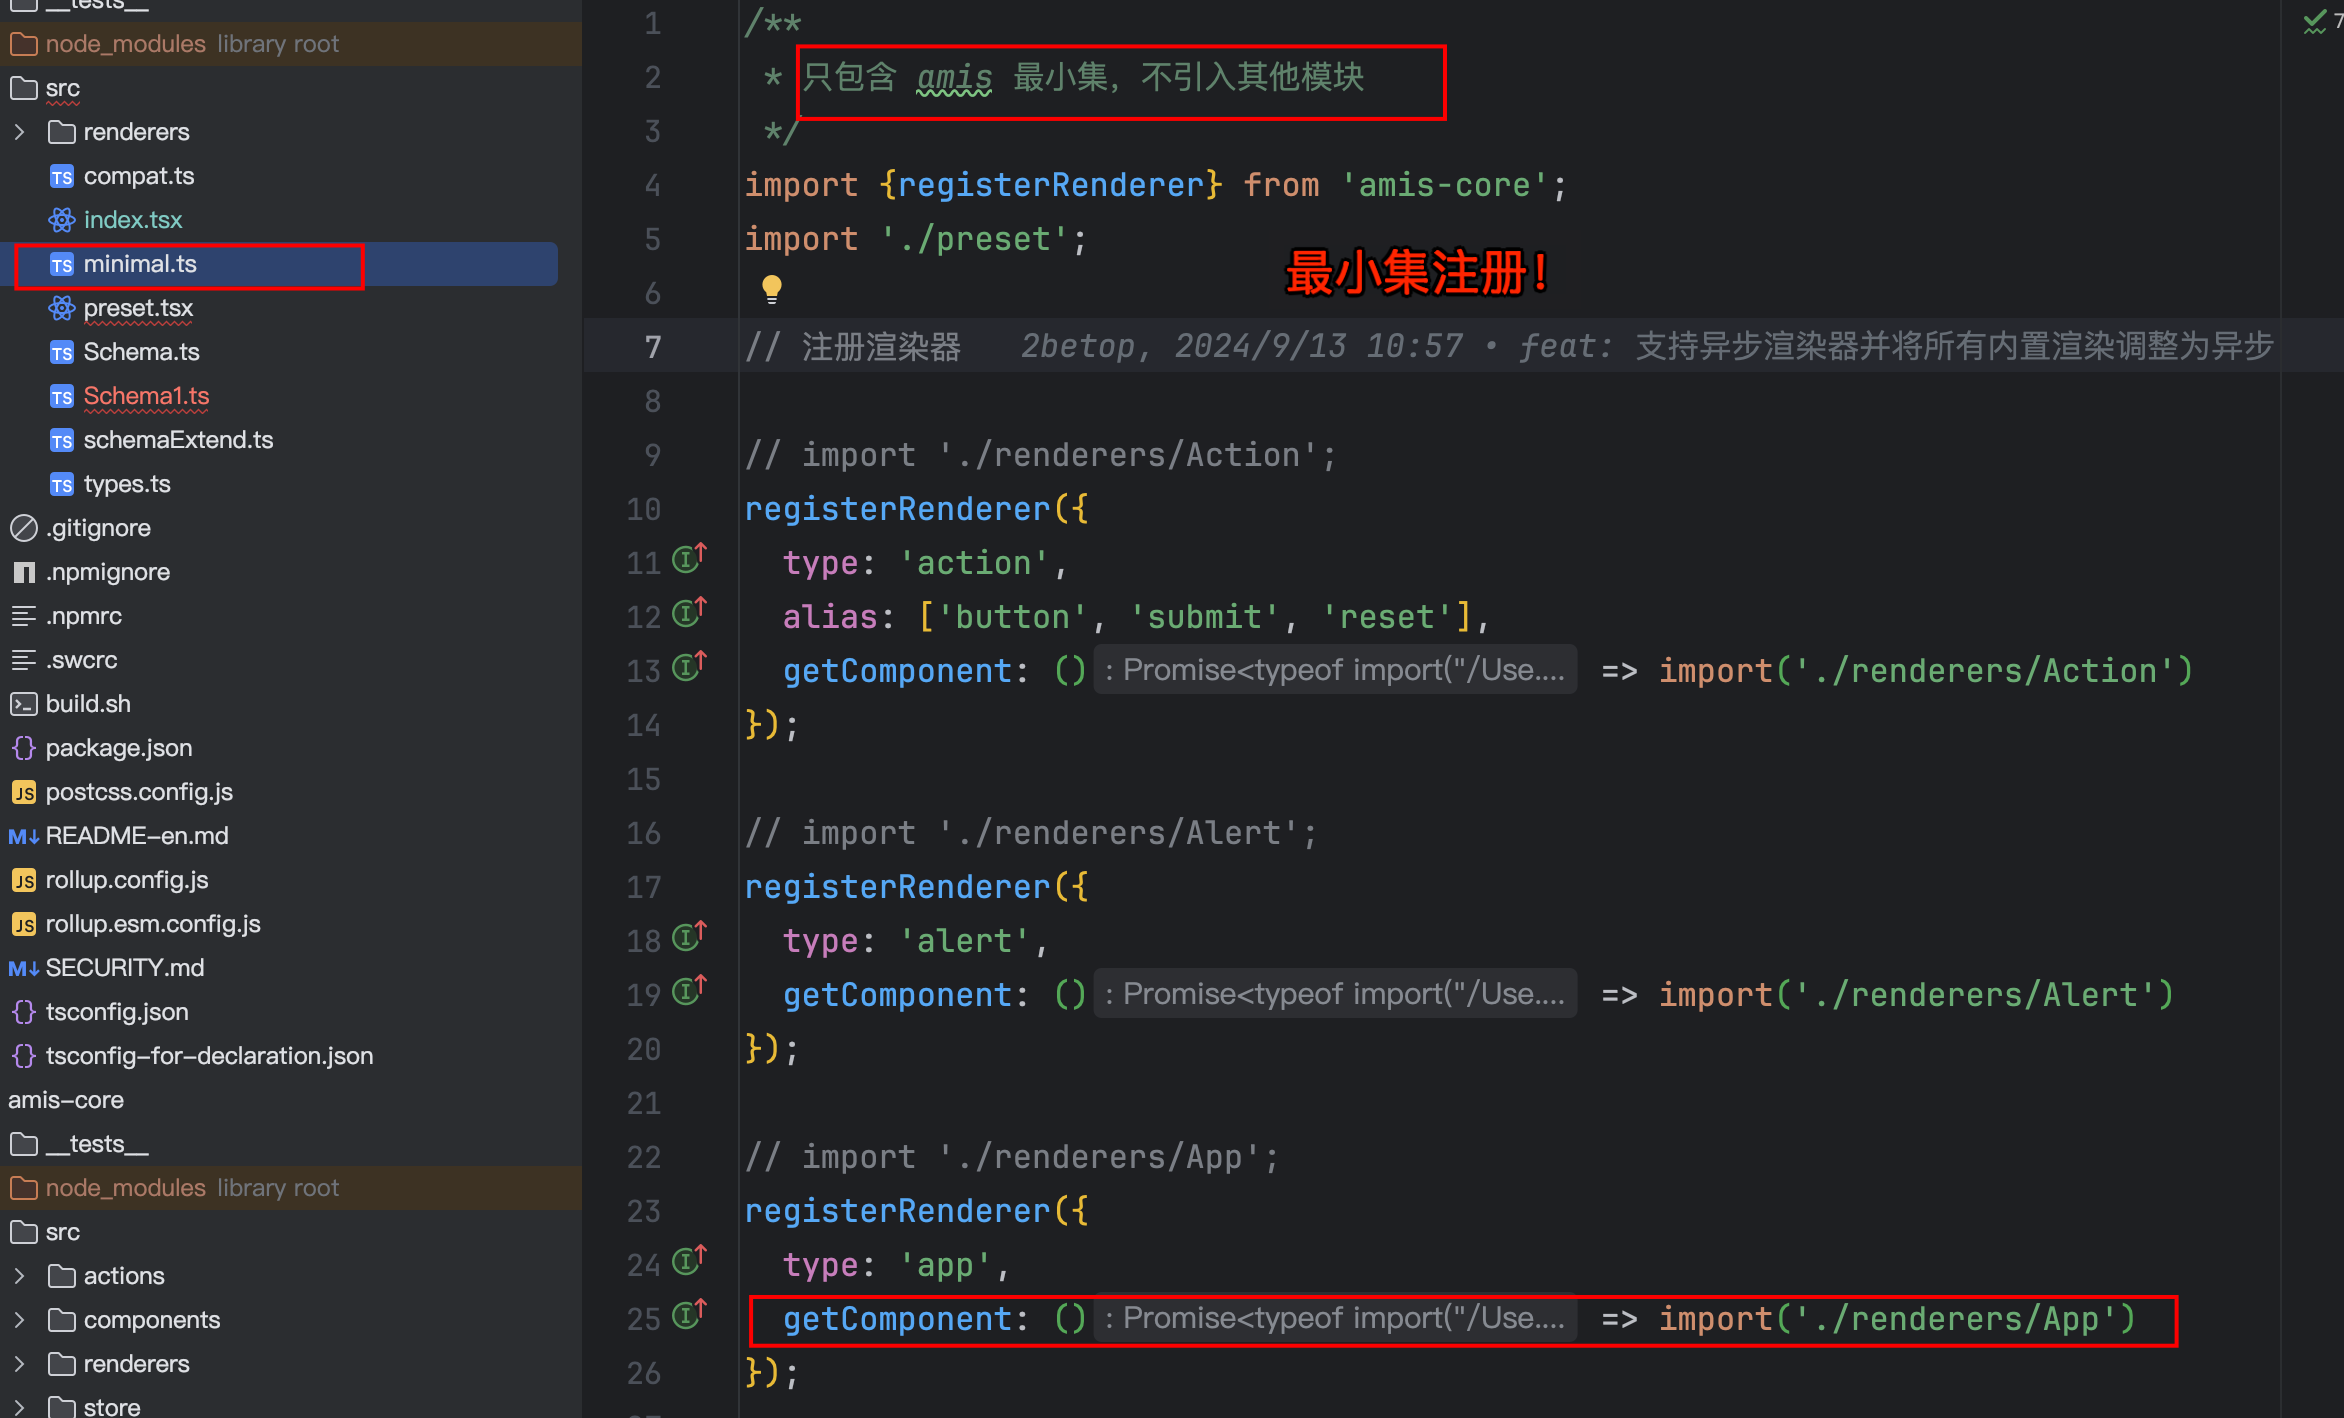
5.2. 组件注册,使用最小集来注册,避免包过大
